What We Mean by “Dehydrate”
Here at Easy Food Dehydrating, “dehydrate” always means using an electric food dehydrator — the easy, reliable way to dry food at home.
- Home
- What Is Food Dehydrating
- Dehydrate Eggs Safely
How to Dehydrate Eggs Safely for Long-Term Storage

Wondering if you can dehydrate eggs safely at home? You absolutely can - and it’s a smart way to preserve fresh eggs for long-term storage, camping, or emergencies.
✅ Quick Answer: How do you dehydrate eggs safely at home?
- Whisk fresh, pasteurized eggs until smooth
- Pour onto lined dehydrator trays
- Dry at 115°F–135°F for 10–14 hours until brittle
- Store in vacuum-sealed jars with oxygen absorbers
- Rehydrate using a 1:1.5 egg-to-water ratio
In this guide, you'll learn exactly how to dehydrate eggs using a dehydrator, freeze dryer, or even your oven, plus how to store and rehydrate them properly. Let’s crack into it.

I did some digging... and yes, dehydrating eggs is a fantastic way to preserve the incredible edible egg (takes me back to that classic 1976 TV ad by the American Egg Board :-)
When you dehydrate eggs and remove moisture, they become shelf-stable for up to 10 years. This makes them a smart choice for long-term food storage, emergency preparedness, and everyday egg convenience.

Whether you’re stocking up for emergencies, whipping up quick meals, or dealing with those seasons when your hens get a little “lazy,” dehydrating fresh eggs ensures you’ll always have a supply on hand.
Want to learn how to keep your flock healthy and productive year-round? Check out Raising Happy Chickens - a trusted resource for backyard chicken owners.
How to Get Started with Egg Dehydration
🛑 Critical Safety Tips for Egg Dehydration
- Always use pasteurized eggs when dehydrating raw. This helps reduce the risk of Salmonella.
- Don’t season eggs before drying - salt, pepper, or milk can interfere with the drying process.
- Use food-safe trays or silicone liners that won’t warp or leach when heated.
- Dry eggs thoroughly until brittle or crisp; any moisture left behind = spoilage risk.
- Store in airtight containers with oxygen absorbers and desiccant packets and keep them in a cool, dark spot.
Dry smart. Store smart. Stay safe. ✅
Now that we’ve got safety out of the way, let’s crack on with the fun part:
The easiest - and safest - way to dehydrate eggs is with a good ol' food dehydrator. Just crack your fresh eggs into a bowl and give ’em a good whisk (or blitz them with a blender if you’re in a hurry). Once they’re nice and smooth, pour the mixture onto lined dehydrator trays.
I highly recommend using silicone sheets - they stay flat and behave, unlike some plastic liners that love to curl when things heat up. If you're using a Nesco dehydrator, fill each tray one at a time and stack as you go. Got an Excalibur with slide-out drawers? Just pull out a tray halfway, lay down your liner, and pour carefully to avoid spills. This method helps everything dry evenly without making a mess.
Set your dehydrator to no higher than 115°F and let it run for 12–14 hours. Some folks like to go hotter - 135°F - which speeds things up to around 10 hours. Totally up to you!
💡 Tip: Outside the U.S.? Most dehydrating temps here are listed in Fahrenheit - use our quick converter to see the Celsius equivalent for your machine.
If you see a greasy film on your dried eggs, don't panic - that’s just the natural fat from the yolks, which actually helps when using them for baking.
Once the eggs are fully dry, simply break your newly-dried "egg leather" into pieces and then grind it into a fine powder with a blender or food processor.
Why Dehydrate Eggs? Storage, Shelf Life, and Everyday Benefits
Dehydrated eggs are lightweight, shelf-stable, and are a convenient addition to any kitchen pantry's emergency food supply. They store easily in vacuum-sealed Mason jars or Mylar bags with oxygen absorbers and desiccant packets.
Heidi, a fellow dehydrating enthusiast, swears by vacuum-sealing her jars with a car brake bleeding pump - a surprising but effective way to remove air without electricity. If that’s a little unconventional for you, there are dedicated Mason jar vacuum sealers available online such as the Pawcute brand I own. See its review here.

Heidi's Video
In the video, Heidi is big on dehydrating eggs and storing them in vacuum-sealed Mason jars. She provides lots of tips - so make sure to watch it!
Rehydration Ratios: Get the Right Consistency Every Time
The general rehydration ratio for dried eggs is 1 tablespoon of egg powder to 1.5 tablespoons of water. Let the mixture sit for 5-10 minutes before cooking to ensure the eggs fully absorb the water.
Struggling with Vacuum-Sealed Jars? Here’s How to Open Them Easily
Vacuum-sealed Mason jars are great for long-term storage, but getting the lids off can be frustrating. In the video below, Elissa shares a simple technique to pry off vacuum-sealed lids without breaking a sweat - or a fingernail.

Elissa's Video
Should You Scramble Eggs Before Dehydrating? Pros and Cons
While raw egg dehydration is the preferred method for many, some, like Jack from Dehydrated Cookbook, prefer scrambling the eggs before drying them.
Jack dehydrates scrambled eggs at 160°F, much higher than the 115°F method Heidi follows. Kiwanna, another dehydrating expert, uses 140°F. While the best temperature is up for debate, all methods agree on one thing: do not season the eggs before dehydrating.
The entire process takes 8-12 hours, depending on temperature and humidity levels. Once dried, grind the eggs into a fine powder, just as you would with raw egg dehydration.
Scrambling first gives the eggs a firmer texture when rehydrated, while raw egg dehydration retains more fat, making it better for baking.
Do You Need Pasteurized Eggs for Dehydrating?
If you’re dehydrating raw eggs, make sure they’re pasteurized—it’s your best defense against Salmonella. A lot of store-bought eggs aren’t pasteurized (yep, even the fancy ones), so check the label before tossing them in your cart.
Pasteurizing is just a gentle heat treatment whereby eggs are warmed in their shells to 140°F for a set time. It’s enough to zap the bacteria, but not enough to cook the egg.
Pasteurized Eggs: Store-Bought or DIY
If you’re dehydrating raw eggs, make sure they’re pasteurized - it’s your best defense against Salmonella.
- Store-bought option: Some grocery stores carry pasteurized eggs in-shell (look for brands like Davidson’s Safest Choice). If the carton doesn’t say pasteurized, assume they’re not. Availability can be hit-or-miss depending on your location.
- DIY option: Can’t find pasteurized eggs at the store? No problem — you can pasteurize them yourself at home: Use a steady water bath to gently heat eggs in their shells to 140°F for the required time. For extra precision, a sous vide circulator makes the process foolproof by holding water at the exact temperature.
This gentle heat treatment destroys harmful bacteria but won’t cook the egg, so they remain safe and scramble-ready.
Looking for a precise way to pasteurize eggs (or try sous vide cooking at home)?
This SOUSVIDE ART Sous Vide Kit is a budget-friendly, all-in-one option.
Key Features:
- Complete kit: circulator pod, 30 reusable bags, seal pump, clips & cookbook
- 800-watt stainless steel immersion circulator with digital LED touch panel
- Precise temp & time control for safe egg pasteurization
- Versatile: use for eggs, chicken, fish, vegetables & more
- Compact, easy to clean, and designed to fit any cookware
As an Amazon Associate, I earn from qualifying purchases — this does not affect the price you pay. Read full disclosure.
Why Bother? How Dehydrating Eggs Saves Space and Lasts for Years
Dehydrating eggs extends their shelf life significantly. When stored correctly, they can last up to 10 years. They also take up far less space than fresh eggs—72 dehydrated eggs can fit into a single quart-sized Mason jar!
Powdered eggs are incredibly versatile and work well in baking, scrambled dishes, and emergency food supplies.
Again, rehydrating eggs is simple: mix 1 tablespoon of egg powder with 1.5 tablespoons of water, let it sit for a few minutes, then cook as usual.
Step-by-Step Methods to Dehydrate Eggs at Home

Kiwanna's Video
In the video above, Kiwanna (from Kiwanna's Kitchen) says that when you see brown patches of eggs while in the dehydrating process, they need flipping over and drying out for another 2 to 4 hours (at 140°F).
Kiwanna's Tip: After your eggs are dry, grind them up. She then puts the ground-up eggs back on her clean Nesco trays and dries them more. She also states to add oxygen absorbers into the jars before drawing out the air. I couldn't agree more.
My Tip: Use a cupcake baking liner turned upside down and place it on the top of your dried egg and then vacuum seal the jar. Doing this keeps loose egg from blocking up the suction pipe. Do this cupcake liner trick with any other dried powdered foods.
Freeze Drying Eggs: Long-Term Storage Option
Freeze drying preserves eggs' taste, texture, and nutritional value far better than traditional dehydration. The process takes 24-48 hours and results in a crispy, lightweight egg product that rehydrates to nearly the same consistency as fresh eggs.
While it’s the best method, freeze dryers are expensive and require significant storage space.
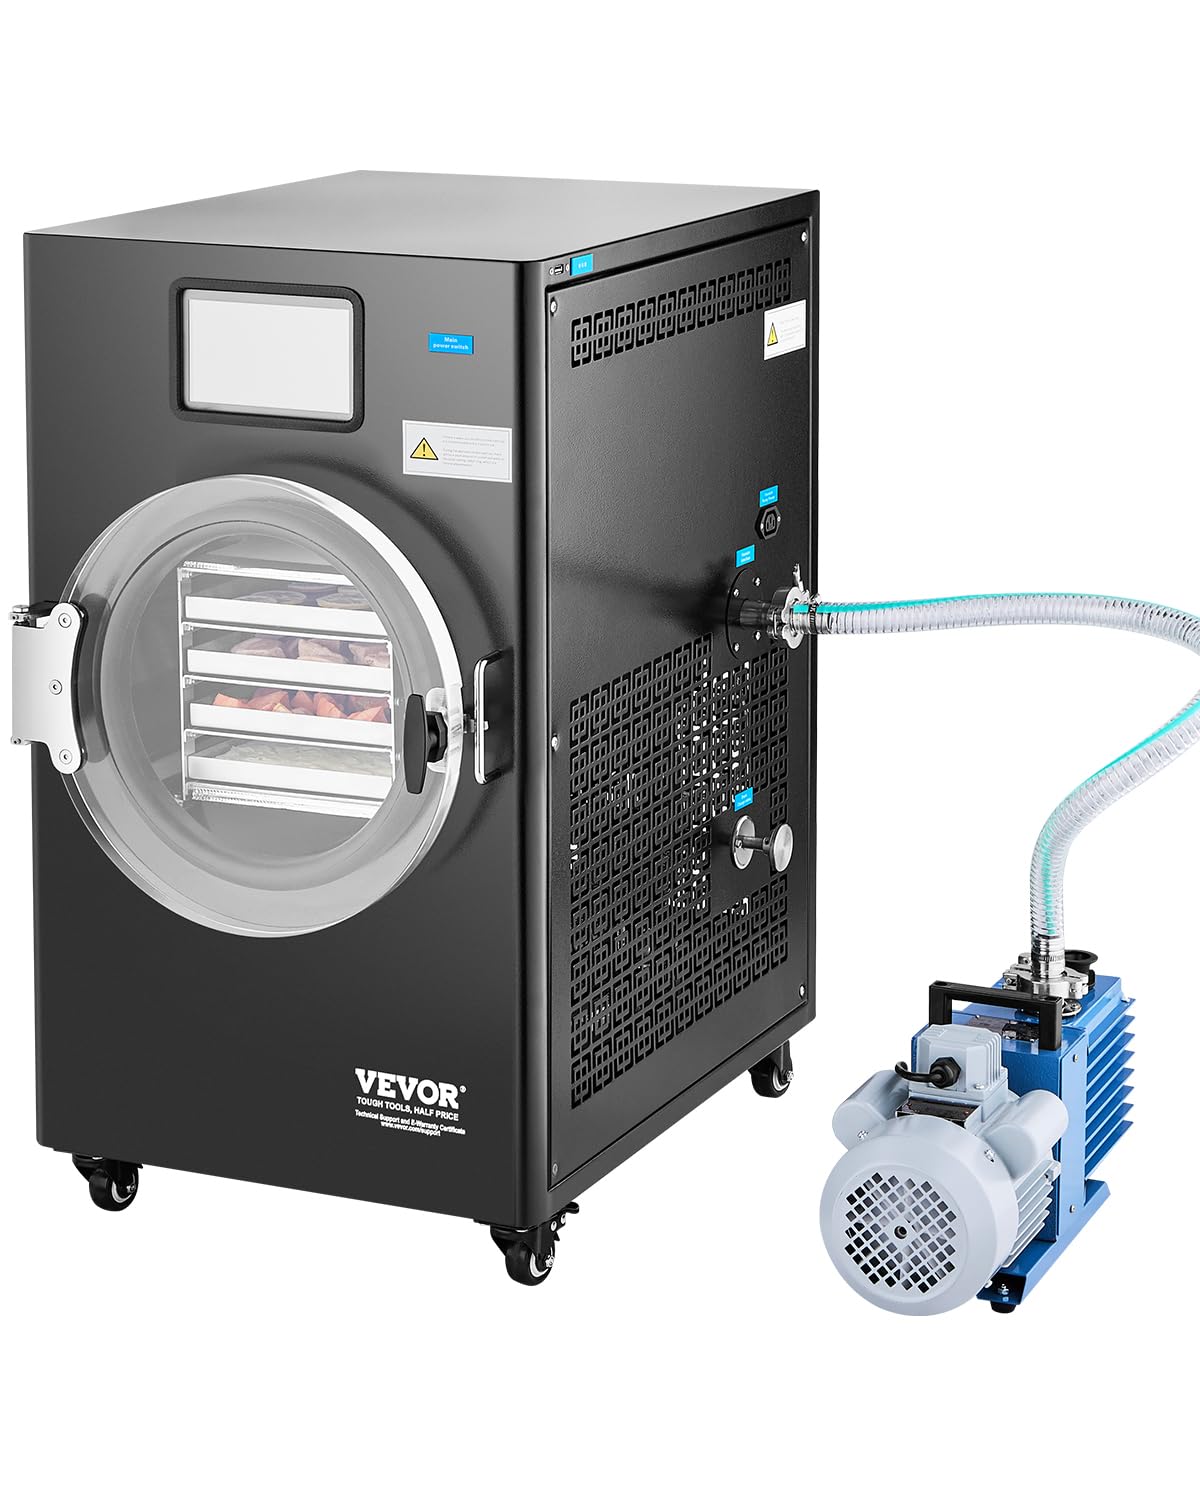
VEVOR Vacuum Freeze Dryer Machine
The freeze-drying process is pretty similar to regular dehydrating inasmuch as you start by whisking raw eggs into a smooth mixture.
It's then spread thinly on trays and placed in the freeze dryer.
Key Features:
- Large capacity: Holds 8.8–13.2 lbs (4–6 kg) of food on 4 stainless steel trays
- Efficient drying: -35°C cold trap temperature with strong vacuum pump for quick, thorough drying
- Smart control: Touchscreen panel with programmable settings and freeze-drying curves
- Quiet & energy-efficient: ≤60 dB noise level, compact design, swivel casters for mobility
- Durable build: High-transparency acrylic door + stainless steel trays for long-term reliability
The machine freezes the eggs rapidly and creates a vacuum
environment. Over 24-48 hours, the water content turns directly from ice to
vapor. (Yes, it takes "that long.")
The result is a lightweight, crispy
egg product that can be easily crushed into powder.
As an Amazon Associate, I earn from qualifying purchases — this does not affect the price you pay. Read full disclosure.
Using a Food Dehydrator for Eggs: The Most Accessible Method
For those without a freeze dryer, a food dehydrator works just fine. Whisk fresh eggs thoroughly and pour the mixture onto dehydrator trays lined with non-stick plastic or silicone sheets.
Set the dehydrator to 135°F and let it run for about 10 hours. The eggs are done when they are completely dry and brittle. Again, any brown spots indicate the need for further drying.
Dehydrating Eggs in an Air Fryer (For Small Batches)
Air fryers can be used to dehydrate eggs in a pinch. Pour whisked eggs into silicone molds placed inside the air fryer. Set it to 135°F and stir every hour to ensure even drying.
The process takes about 5-6 hours, making it faster than traditional dehydration but only suitable for small batches.
How to Store and Rehydrate Dehydrated Eggs Safely
Once dried, eggs should be ground into a fine powder and stored in airtight containers like Mason jars or Mylar bags with oxygen absorbers and desiccant packets.
To extend shelf life, keep them in a cool, dark place and avoid exposure to air, moisture, and light. Properly stored, dehydrated eggs remain usable for 5-10 years.
I think it's a great idea to dry eggs - making this storage method ideal for cooks, preppers, and tired-out old birds, er, hens!
Vacuum Sealing Tools for Dehydrated Eggs
Pawcute Mason Jar Vacuum Sealer
This handy gadget makes vacuum-sealing Mason jars a breeze. I have an older FoodSaver food vacuum sealer model and I had to get this to vacuum seal the air out.
Mason Jars Available on Amazon
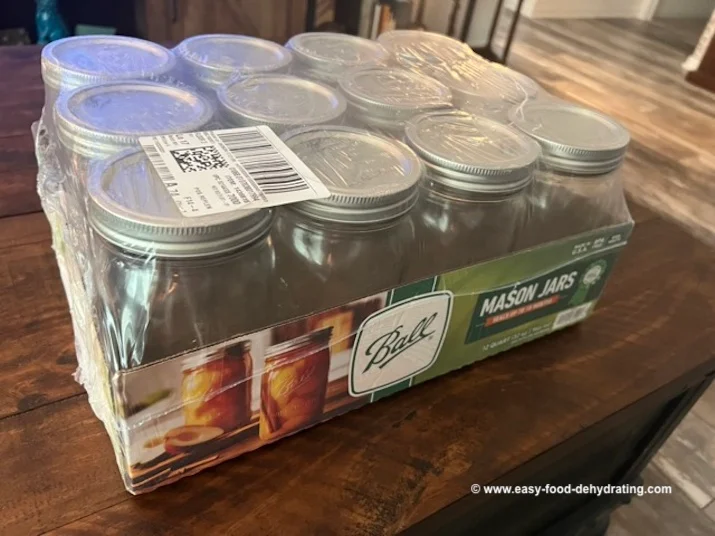
Mason Jars Regular Mouth Quart Jars
- Ball brand regular mouth Glass Mason Jars. Quart size (32oz)
- Package of 12
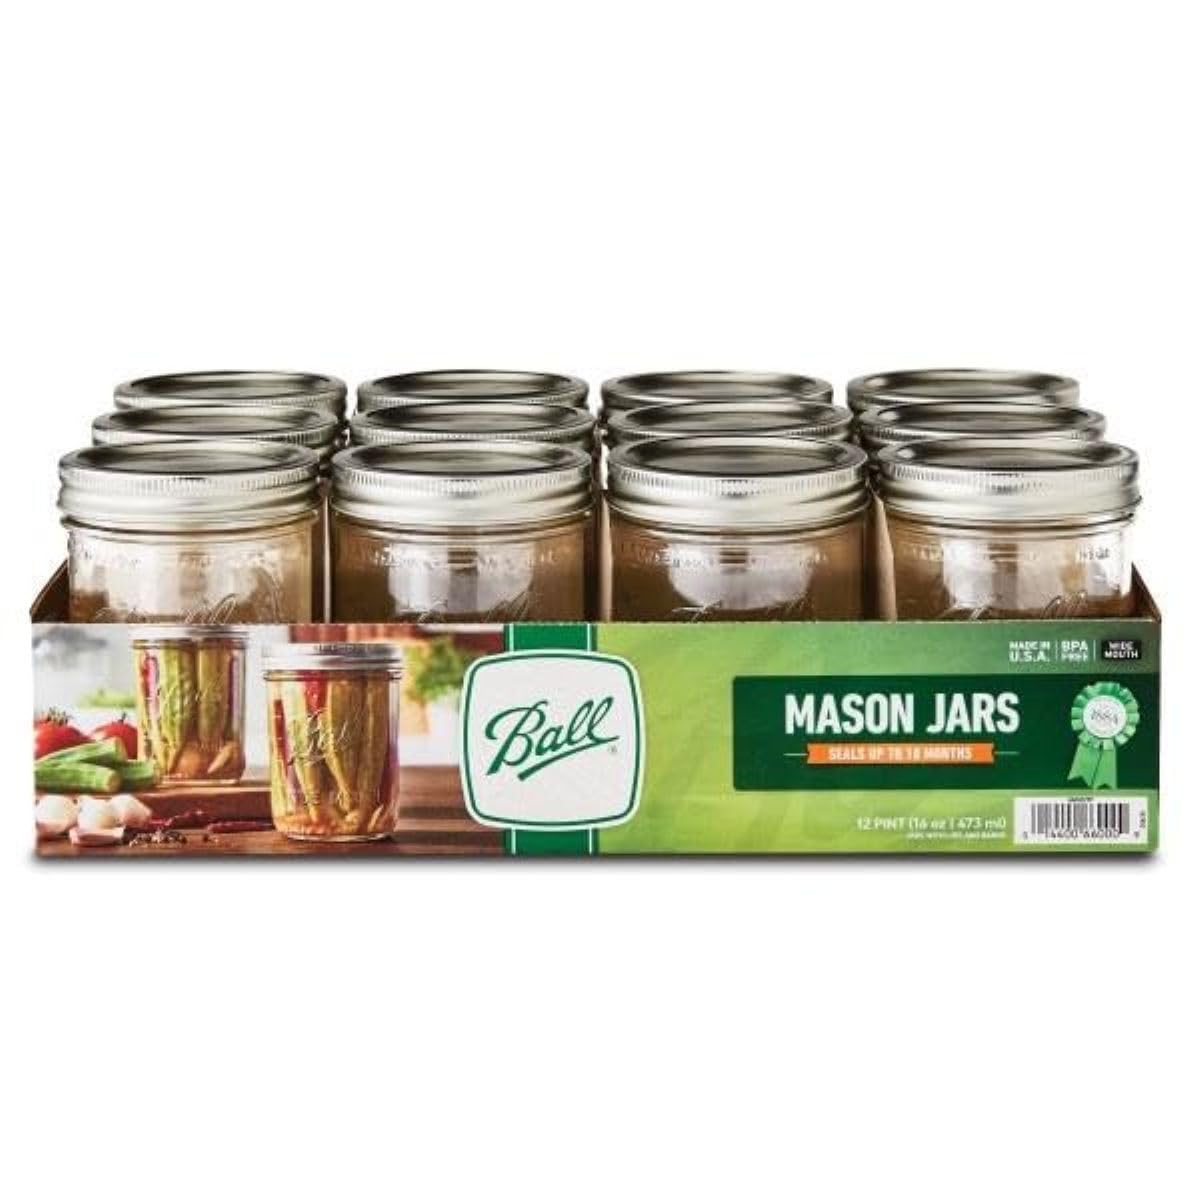
Mason Jars Wide Mouth Pint Jars
- Ball brand wide mouth Glass Mason Jars. Pint size (16oz)
- Package of 12
Mason Jars Wide Mouth Half Pint Jars
- Ball brand wide mouth Glass Mason Jars. Half-Pint (8oz)
- Package of 12
Kerr Wide Mouth Half-Pint Mason Jars
- Kerr brand wide mouth Mason jars with lids and bands
- Half pint (8oz)
- Package of 12
As an Amazon Associate, I earn from qualifying purchases — this does not affect the price you pay. Read full disclosure.
NOTE: A lot of people in the Amazon reviews are saying these vacuum-suction contraptions are BEST suited for WIDE MOUTH jars, not REGULAR mouth jars.
My hubby was shopping at Walmart, so I had him get me another 12-pack of quart-size jars. I had him check for broken glass and/or dented metal lids in person... rather than hoping they make it in transport via Amazon (or the Walmart store online).
Another reason why I prefer to use wide-mouth jars is that I can get my hand inside the jar to give them a nice soapy wash! Can't do that with regular-mouth jars.
Silicone Sheets (Instead of Plastic)
Check out these silicone sheets, perfect for Nesco round dehydrators, and the brown ones are ideal for the square Excalibur dehydrators (Amazon Affiliate link, thanks).
I like the idea of silicone rather than plastic - plastic sheets can bend a bit when/if they get too hot, but good old silicone lays flat, no matter what.
As an Amazon Associate, I earn from qualifying purchases — this does not affect the price you pay. Read full disclosure.
Alternative Methods: When a Dehydrator Isn't an Option
Oven Drying Eggs Without a Dehydrator
If dehydrating eggs at home isn’t your thing, you can buy store-bought powdered eggs from brands shown below.
Store-Bought Powdered Eggs vs. Homemade
- READYWISE - Simple Kitchen, Powdered Eggs, 72 Servings, Emergency Food Supply
- Augason Farms Pasteurized Scrambled Egg Mix Can
- Mountain House Scrambled Eggs with Bacon - Freeze Dried Survival & Emergency Food
These commercially prepared eggs have an extended shelf life and are great for emergency food storage.
FAQs About Dehydrating Eggs
Here are answers to some common questions about the process, storage, and rehydration of dehydrated eggs.
What's the process for drying
eggs if you don't own a dehydrator?
What's the process for drying eggs if you don't own a dehydrator?
No dehydrator? No problem! You can still dehydrate eggs using your oven. Set it to the lowest temp possible—typically 170°F or lower if your oven allows it.
Whisk the eggs well and spread the mixture thinly on a parchment-lined baking sheet. Prop the oven door open with a wooden spoon handle to let moisture escape.
The process takes 6–12 hours depending on your oven and local humidity. Flip the eggs if they start developing brown spots.
Can I dehydrate eggs in an air fryer, and if so, how?
Can I dehydrate eggs in an air fryer, and if so, how?
Yep, air fryers can do the trick—just in smaller batches. Pour whisked eggs into a shallow air fryer-safe dish or silicone mold that fits the basket.
Set it to the lowest possible setting (ideally 135°F–170°F) and give the eggs a stir every 30 minutes.
You’re looking at about 5–6 hours. Once fully dry and crumbly, grind the eggs into powder using a blender or food processor.
How do you properly rehydrate dehydrated eggs for cooking?
How do you properly rehydrate dehydrated eggs for cooking?
It’s super simple: mix 1 tablespoon of egg powder with 1.5 tablespoons of water. Let it sit for 5–10 minutes to fully rehydrate before cooking.
Too runny? Use a little less water next time.
Too thick? Add a splash more. And if the mix looks lumpy or uneven, let it sit a bit longer—patience pays off.
Why do my dehydrated eggs turn out rubbery?
Why do my dehydrated eggs turn out rubbery?
Rubbery eggs usually mean the yolks and whites weren’t fully mixed before drying. Be sure to whisk or blend them thoroughly before pouring onto your trays. That even mix is key to smooth, rehydratable results.
Final Thoughts on Dehydrating Eggs
Dehydrating eggs is an easy, effective, and space-saving way to store eggs for years while maintaining nutrition and convenience. Whether you’re a prepper, camper, or home cook, having powdered eggs on hand is a smart food storage solution.
I hope you found all this information eggstra special. (Groan).
Whether you're prepping for emergencies, preserving backyard eggs, or just looking to cut food waste, dehydrating eggs is a game-changer for any pantry.
Want even more inspiration? Grab your free 5 Dried Food Recipes You'll Actually Love PDF (below) — and start building a shelf-stable stash that tastes amazing too.
Get 5 Dried Food Recipes You'll Actually Love
Here's where you can get your copy of our all new
5 Dried Food Recipes (That Actually Taste Great)
They're my all-time favorite easy dried food meals!
Get it here right now.
For Free!
Before You Go...
If you enjoyed this page, tap the ❤️ in the lower right-hand corner.
It saves this page to your Grow bookmarks so you can find it again later.
You’ll also see quick share buttons to copy the link, post to Facebook,
or save it straight to Pinterest.

