What We Mean by “Dehydrate”
Here at Easy Food Dehydrating, “dehydrate” always means using an electric food dehydrator — the easy, reliable way to dry food at home.
- Home
- How to Store Dehydrated Food for Long-Term Freshness
How to Store Dehydrated Food for Long-Term Freshness

Learning how to store dehydrated food the right way makes all the difference between meals that last a few weeks and food that stays fresh for years. With the proper methods, you’ll protect your investment of time and ingredients, guard against spoilage, and build a pantry full of reliable emergency or everyday meals.
✅ Quick Answer: How do you store dehydrated food?
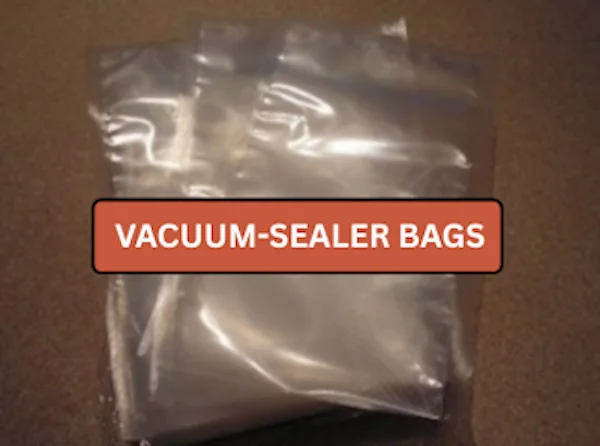
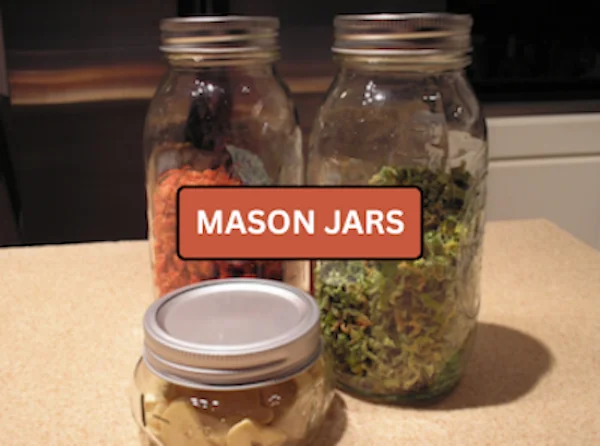
Store dehydrated food in airtight containers (like vacuum-sealed bags, Mylar bags, or Mason jars) with oxygen absorbers, then keep them in a cool, dark, and dry place. This combination protects against the three biggest threats - light, air, and moisture - helping your food last from months to decades.
Whether you’re new to dehydrating or you’ve been at it for a while, these proven storage tips will help you keep your jars, bags, and bins in perfect condition for the long haul.
Quick Storage Duration Guide for Dehydrated Foods
| Food Type | Storage Container | Shelf Life | Notes |
|---|---|---|---|
| Fruits | Mylar bag + O2 absorber | 6–18 months | Store in a cool, dark place; lower temps extend shelf life. |
| Vegetables | Vacuum-sealed bag | 6–12 months | Rotate regularly; avoid humidity. |
| Jerky / Meats | Mylar + O2 absorber + Desiccant | 6–12 months | Keep below 60°F (15°C) for maximum safety. |

Essential Storage Methods for Keeping Dehydrated Food Fresh
The Surprising Reason Gloves Protect Your Stored Food
Wear Latex Gloves so that you don't transfer germs from your hands to the food. (There are latex-free gloves available if you're allergic to latex).
I use my latex gloves more than once; I wash my hands while wearing them in the kitchen sink, and dry them off on a clean towel.
I then drape them over my dish draining rack to air dry so the latex gloves will be ready for another use.
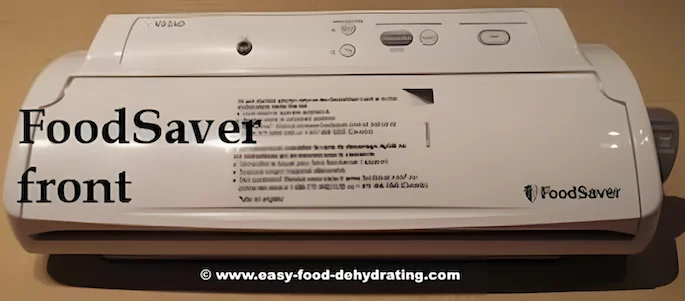
Before we get going: Shown below is my FoodSaver brand V2240 food vacuum-sealer I use. It's an oldie, but goody. I've used it since 2010! Getting the right equipment pays dividends. Read more about food vacuum sealers here.
Believe it or not, I didn't know that the text you see on the center of the front lid "peels" off - ha! It's just a sticker for reference. It only took me ten years to figure that out... better late than never.
When the dehydrating is done and after a day of conditioning - or overnight - it's time to vacuum seal our fruits, vegetables, and meats! Now we're ready to store our dehydrated food!
Oxygen Absorbers 101: Tiny Packets That Protect Food for Years
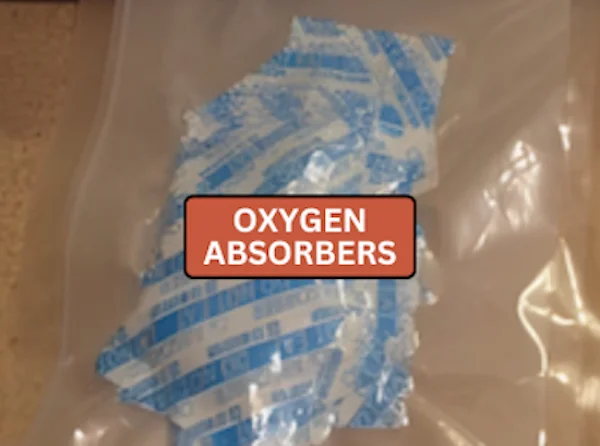
It's important when food vacuum-sealing your dried fruit and vegetables that you have an 'oxygen absorber' tucked inside your food vacuum-sealer bag or jar.
The little oxygen absorber packs absorb oxygen and are readily available in different sizes, such as the smallest at 50cc, then 100cc, 300cc, and up to a whopping 2000cc.
Read more about the reason for different-sized oxygen packs here as it
depends upon what size container your dehydrated foods will finally be stored
in.
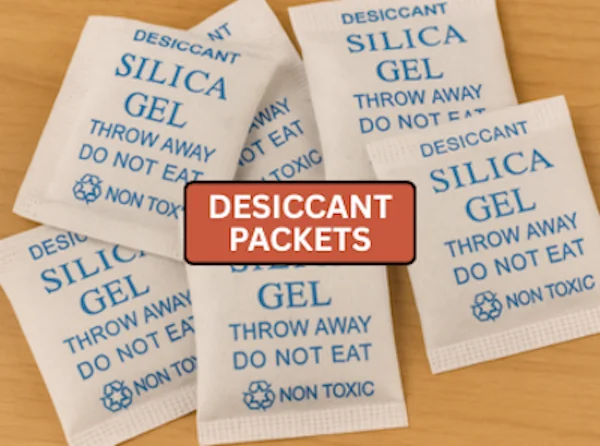
I also use desiccant packets to take care of extra moisture, read about them below.
Desiccant Packets: Extra Protection Against Moisture
Desiccant packets are another handy tool for keeping dehydrated food safe. Unlike oxygen absorbers, which remove oxygen, desiccants pull excess moisture from the air inside your storage container.
They’re especially useful in humid climates or when storing foods in containers that may be opened and resealed often. For full details and tips, check out my guide on desiccant packets here.
Mylar Bags for Dehydrated Food: The Extra Layer That Extends Shelf Life
After vacuum-sealing individual packages, do this:
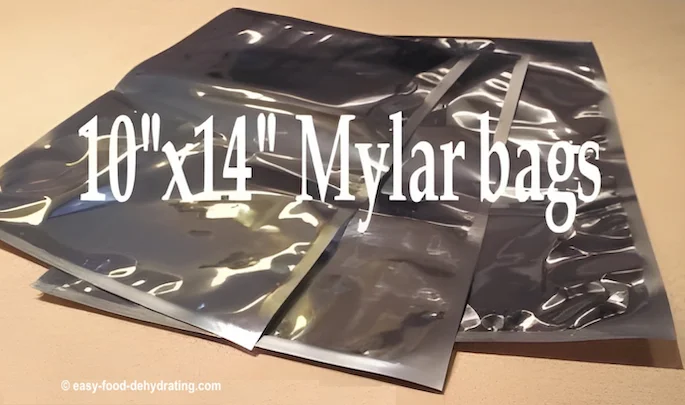
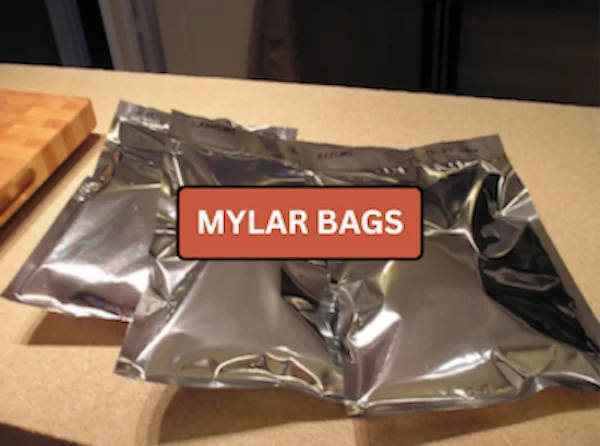
After vacuum-sealing dehydrated fruits and vegetables in the food vacuum sealer bags. it's time to store them in Mylar bags as an additional layer of protection.
NOTE: We do not vacuum the air from the Mylar bags, we simply seal the Mylar bag. We only remove the air from the vacuum-sealed bags of food.
There are ready-made food vacuum sealer bags - and there are food vacuum sealer rolls readily available to make the perfect-length bag... here's a bit of info regarding the rolls below:
Vacuum Sealer Rolls: The Affordable Trick for Custom-Sized Bags

These Wevac rolls are ideal for food vacuum storage, meal prep, or sous vide applications!
This two-pack purchase is a "no-brainer." Watch the video to see why!
Make your own size bag using these 8" x 50' and 11" x 50' roll 2-pack perfect for Food Saver, Seal a Meal, or Weston food vacuum sealer machines.
Mason Jar Method: Easy Everyday Storage That Works
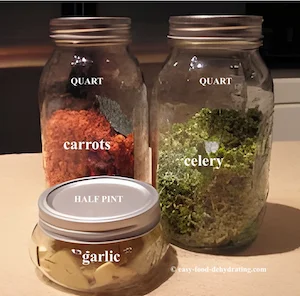
When storing dehydrated fruit and vegetables for daily or weekly use, try using different-sized airtight Mason jars that sit nicely on your upper kitchen cabinet shelves.
Remember to add an oxygen absorber into each jar, then screw the lid on. Read about how and why to use different-sized oxygen absorbers here.
DIRECTLY below is a great tip on how to prevent punctured bags.
Read on to find out!
Ultimate Storage Setup: Mylar Bags + Bins for Long-Term Safety
Safely store dehydrated food in spare closets or the garage!
PRO TIP: Wrap vacuum-sealed packages in plastic wrap to prevent punctures before placing them in Mylar bags.
I choose to wrap up my vacuum-packed packages with cheap plastic wrap. This keeps the sharp edges from puncturing the other packets - and then I put them into my Mylar bags.
Mylar bags are made from a polyester film and are very shiny in appearance; they are very tough and tear-resistant and are ideal for long-term food packaging.
They provide an extra layer of protection to our individual food packets.
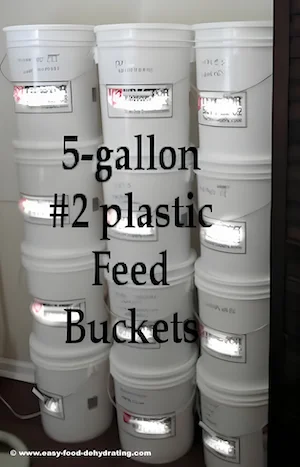
And for final storage in a garage, for instance, put the Mylar bags in plastic lidded bins or feed buckets with lids. Doing this makes it easy to move, is water-proof, bug-proof, and air-tight!
If you're wondering if there are special instructions for ORGANIC foods, check out my post: Best Organic Dried Foods Long-Term Storage Family Guide.
Handy Storage Reference Chart for Long-Term Food Safety
Think of it as a layering map—follow the steps in sequence and your food stays protected for years.
| Layer | Container | What Goes Inside | O₂ Absorber | Desiccant | Seal Method | Notes |
|---|---|---|---|---|---|---|
| Primary | Vacuum-sealer bag | Dry food | 100cc | 5g | Vacuum seal | Wrap in cling film (abrasion guard) |
| Secondary | Mylar bag | 3–4 primary packs | 300cc | 20g | Heat-seal (no vacuum) | Barrier + light block; label contents & date. Text will now wrap properly instead of stretching wide. |
| Storage | Pantry/Shelf | Finished Mylar bundles | — | — | — | Cool, dark, dry; rotate oldest first |
Primary
Container: Vacuum-sealer bag
What Goes Inside: Dry food
O₂ Absorber: 100cc
Desiccant: 5g
Seal Method: Vacuum seal
Notes: Wrap in cling film (abrasion guard)
Secondary
Container: Mylar bag
What Goes Inside: 3–4 primary packs
O₂ Absorber: 300cc
Desiccant: 20g
Seal Method: Heat-seal (no vacuum)
Notes: Barrier + light block; label contents & date
Storage
Container: Pantry/Shelf
What Goes Inside: Finished Mylar bundles
Notes: Cool, dark, dry; rotate oldest first
My Food Storage Wall: How We Built 8 Feet of Pantry Space
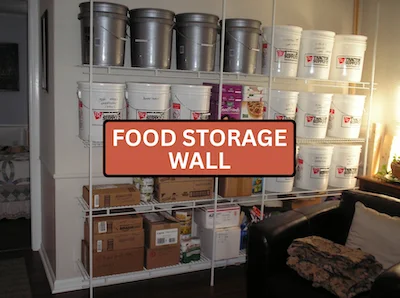
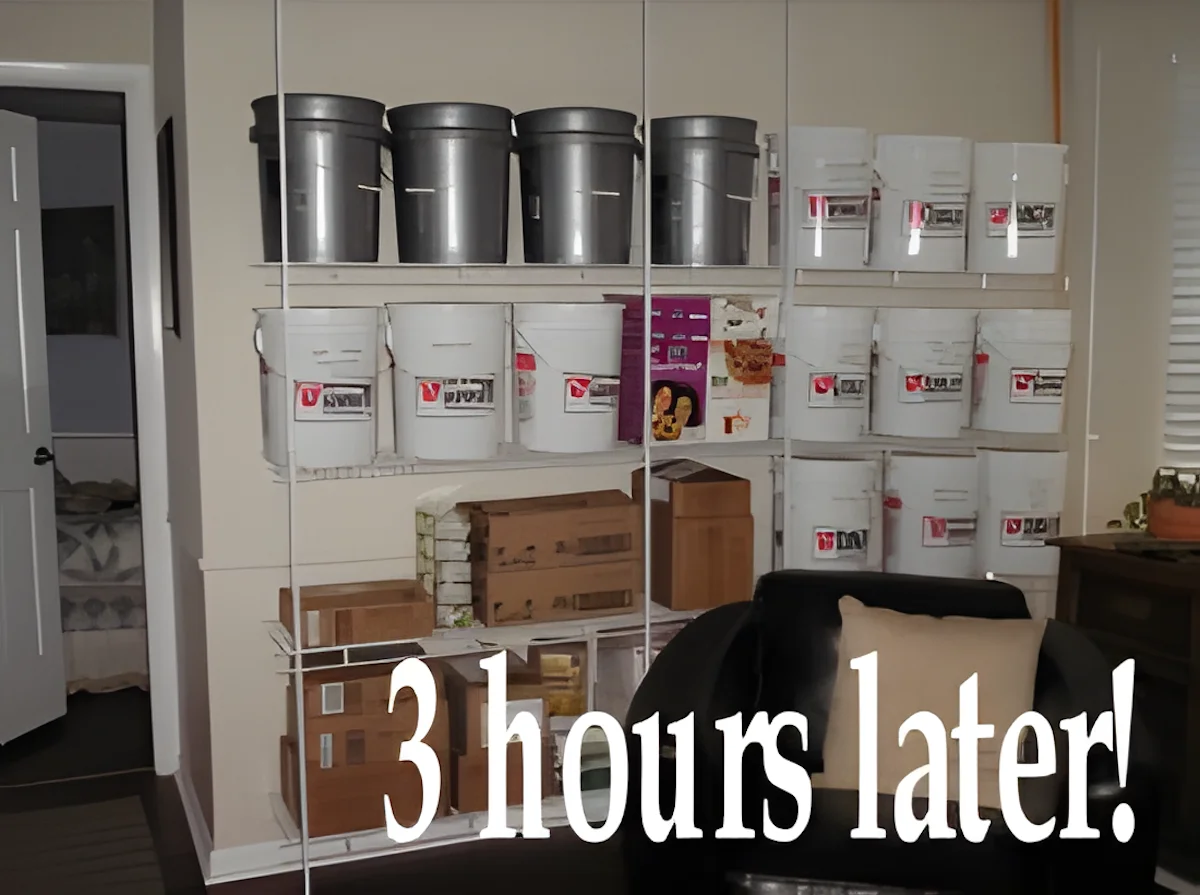
This is how you create space for your dehydrated food where there previously was none! Click here to see the end result of our 8' span of shelving shown in the photo.
Don't forget to check out my optional way of protecting dehydrated food vacuum-sealed packages by reading the Plastic Wrap Guide.
Now you know how to store dehydrated food, and pretty much all the items mentioned are for sale at the biggest website store in the world: Amazon.com — (so no worries there!)
For those of you who have written in asking about storing dry goods, read this page for how to store salt and sugar, plus how to store rice and flour here.
Here are ALL the Storing Food Links
In Case You Missed One!
Your Top Questions About Storing Dehydrated Food
How do you store dehydrated food?
How do you store dehydrated food?
Place dehydrated food in airtight containers like vacuum-sealed bags, Mylar bags, or Mason jars with oxygen absorbers and desiccant packets. Store them in a cool, dark, and dry location for best results.
Do you need oxygen absorbers for dehydrated food?
Do you need oxygen absorbers for dehydrated food?
Yes. Oxygen absorbers extend shelf life by removing leftover air that can cause spoilage. Pair them with vacuum sealing or Mylar bags for the best protection.
How long does dehydrated food last when vacuum sealed?
How long does dehydrated food last when vacuum sealed?
Low-moisture foods (like grains and beans) can last up to 25 years, while higher-moisture foods (like fruit and veggies) typically last 6–18 months. Storage conditions also play a role.
What’s the best temperature for storing dehydrated food?
What’s the best temperature for storing dehydrated food?
Keep it below 60°F (15°C) in a dark, dry place. Cooler environments can dramatically increase shelf life.
Can Mason jars be used for long-term storage?
Can Mason jars be used for long-term storage?
Mason jars are perfect for short- to mid-term storage. For years-long protection, add oxygen absorbers and desiccant packets and store jars in a dark cupboard or bin.
Now you know how to keep dehydrated food safe from light, air, and moisture so it stays fresh for months - or even years. Read more about dehydrators here.
To put your new skills into action, grab the free 5 Dried Food Recipes You'll Actually Love PDF below. You’ll get easy step-by-step favorites like carrot soup, minestrone, split pea soup, spicy beef jerky, and banana cinnamon rolls - all designed for your dehydrated pantry.
Get 5 Dried Food Recipes You'll Actually Love
Here's where you can get your copy of our all new
5 Dried Food Recipes (That Actually Taste Great)
They're my all-time favorite easy dried food meals!
Get it here right now.
For Free!
Before You Go...
If you enjoyed this page, tap the ❤️ in the lower right-hand corner.
It saves this page to your Grow bookmarks so you can find it again later.
You’ll also see quick share buttons to copy the link, post to Facebook,
or save it straight to Pinterest.
