What We Mean by “Dehydrate”
Here at Easy Food Dehydrating, “dehydrate” always means using an electric food dehydrator — the easy, reliable way to dry food at home.
- Home
- Articles On How To Dehydrate Food Safely
- Drying Food for Backpacking Trips
Drying Food for Backpacking:
Save Weight, Space, and Money

Drying food for backpacking is one of the best ways to travel lighter, eat healthier, and save money while exploring the outdoors. Instead of carrying heavy, store-bought meals, you can pack lightweight, nutrient-rich snacks and trail-ready dinners that you prepared at home.
✅ Quick Answer: How do you dry food for backpacking?
To dry food for backpacking, slice fresh fruits, veggies, or lean meats evenly, place them in a dehydrator at 125–135°F (52–57°C), and dry until crisp or leathery. Store in airtight bags with oxygen absorbers to keep meals lightweight, safe, and ready for the trail.
The process is simple, cost-effective, and rewarding—you’ll know exactly what’s in your food, avoid preservatives, and enjoy meals that rehydrate into something hearty after a long day on the trail.

Dehydrating food not only preserves it - it also makes it
lightweight and easy to tote - which is an essential aspect for
backpackers, right? No one wants to carry heavy food around, that can also spoil and make a mess!

Using an electric dehydrator makes light work of the task, and pays for itself in the long run.
My friend, Chef Glenn, runs a Solo-Build-It site (just like Easy Food Dehydrating!) and it's all about DIY Backpacking Food.
Why Dehydrating Food is a Backpacker’s Secret Weapon
If you're asking yourself, "Why bother dehydrating food when I can buy ready-made stuff?" That's a good question. Besides saving money, the biggest advantage of making your own backpacking food is that you will know exactly what ingredients are in it. There's no need for preservatives you can't pronounce!
Plus, you'll create trail mixes and the like that suit your taste buds. Also, if you like a bargain, check out the roadside stands that sell fruits and veggies, and don't forget to take advantage of BOGO (buy one - get one) deals at your local grocery store.
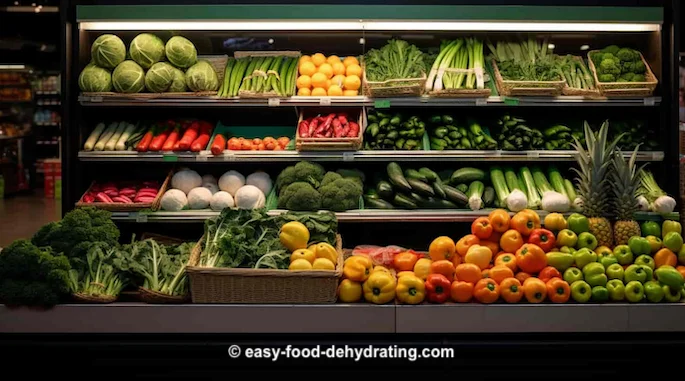
So how do you go about drying food for backpacking? It's a simple process and it starts with fresh fruits and vegetables. Start by cleaning the produce, and slice it into evenly-sized pieces so they all dry out at the same rate.
💡 Tip: Outside the U.S.? Most dehydrating temps here are listed in Fahrenheit - use our quick converter to see the Celsius equivalent for your machine.
The dehydrator temperature setting is between 125 to 135°F for just about all fruits and veggies. Let the dehydrator do its magic - which can take anywhere from six to sixteen hours.
Patience, Grasshopper. It's worth it.
How Long Will Your Trail Meals Really Last?
Dehydrated food lasts a long time - when stored properly. Read more about storing dehydrated food here.
When we're hiking, the last thing we want to worry about is food spoiling in the heat, or getting squished. Dehydrating food takes care of that. Also, make batches of dried foods so you're ready to hike at the drop of a hat!
Because we're not carrying around fresh fruit that quickly spoils, and we're not discarding old banana skins along the way (though slipping on a banana skin was funny back in the old days), I know that banana skins will "eventually" disintegrate but... why attract flies and critters unnecessarily?
Top Foods That Dry Best for the Trail
The next step is to think about which foods are best for backpacking. Apples, bananas, and berries work great (and grapes to make raisins). All fruits retain their sweetness even after drying, in fact, they taste even sweeter.
Add some nuts to your backpack for saltiness, and protein.
Click the images below to learn more about how to dehydrate apples, bananas, and berries. Below that is info. on peppers, tomatoes, and zucchini!
Try bell peppers, tomatoes, and zucchini for the savory side of you. These types of veggies mix well with dried meats, aka "jerky." See our growing list of JERKY RECIPES right here!
Jerky on the Go: How to Safely Dehydrate Meat
Use lean cuts of beef, chicken, or turkey. Don't forget you can dehydrate seafood too. But honestly, I pass on taking fish along on my camping and hiking trips!
The key to making sure the foods are dried properly is to dry them until they're brittle. We need to make sure that all the moisture is removed - so that spoilage doesn't happen. To deter spoilage, we use oxygen absorbers inside our dehydrated food packages along with desiccant packets.
Pop in an oxygen absorber prior to drawing the air out of the bag. Read more about vacuum-sealer bags here.
For the sweet-toothers out there: Dehydrate fruits and make fruit leathers, aka fruit roll-ups or fruit rolls.
After puréeing your chosen fruit, spread it out on a solid sheet - see the "how-to" here - and experiment with different fruit combinations to keep you and your taste buds happy.
The Backpack Space Saver: Why Dried Food Wins
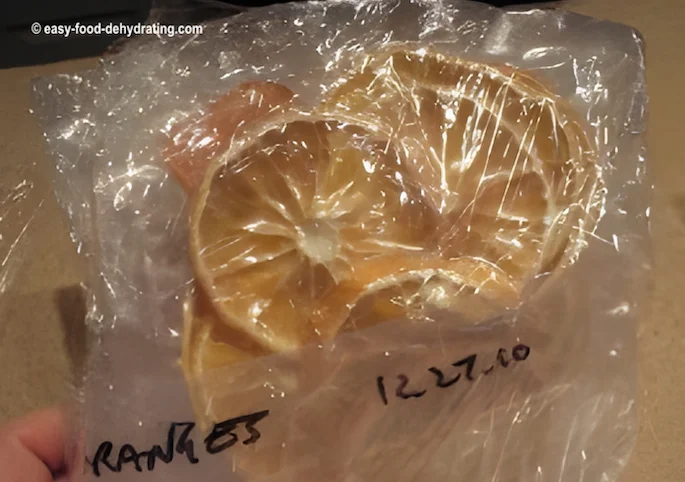
When drying food for backpacking, I appreciate that it takes up far less space - compared to their fresh counterparts.
A major advantage, right? Space is at a premium in the old backpack.
You can easily pack a couple of days-worth of food neatly into a corner, leaving room for other essential gear.
Don't forget about the versatility of dried food. Use it in recipes for stews, soups, and stir-fries. Add to pasta. You will need to rehydrate the food in good, clean drinking water, to make it ready for cooking.
Take a look at my how to rehydrate page and just look at how much carrots plump back up!
Invest in a Dehydrator
If you're a regular visitor to Easy Food Dehydrating, you'll know that I'm a fan of Nesco and Excalibur dehydrators. Why? Because they still work (since 2010!)
Nesco DEHYDRATORS Available on Amazon
💡 Tip: Outside the U.S.? Most dehydrating temps here are listed in Fahrenheit - use our quick converter to see the Celsius equivalent for your machine.
Nesco FD-80A Food + Jerky Dehydrator
This is a square-shaped food dehydrator, perfect for snacks, fruit, and beef jerky. White with a top black tray edge, with a white lid.
- 700 watts of drying power
- Expandable to 8 trays
- 15.25 x 10.25 x 15.63 inches (LxWxH)
- Temperature range: 95°F – 160°F
- Comes with: 1 Clean-A-Screen, 1 Recipe Instruction Book, 1 Jerky Seasoning & Cure Sample
Nesco FD-61WHC Snackmaster Encore Food Dehydrator
This round Nesco Snackmaster comes with a jerky gun kit and 5 trays. It has a very light grey body with a darker grey lid.
- 500 watts of drying power
- Expandable to 12 trays
- 13.5 x 13.5 x 9.25 inches (LxWxH)
- Temperature range: 95°F – 160°F
- Comes with: 1 Jerky Gun with 3 tip attachments, 2 Fruit Roll Sheets, 2 Clean-A-Screens, 5 Jerky Seasoning & Cure Samples, Recipe & Instruction book
- Best budget-friendly jerky dehydrator
Nesco FD-60 Snackmaster Express Food Dehydrator
This is the new version of mine as it has an updated lid. It's a light grey body with a darker grey lid.
- 500 watts of drying power
- Expandable to 12 trays
- 13.5 x 13.5 x 9.25 inches (LxWxH)
- Temperature range: 95°F – 155°F
- Comes with: 1 Fruit Roll Sheet, 2 Original-Flavor Jerky Spice & Cure Packets
As an Amazon Associate, I earn from qualifying purchases — this does not affect the price you pay. Read full disclosure.
Excalibur DEHYDRATORS Available on Amazon
💡 Tip: Outside the U.S.? Most dehydrating temps here are listed in Fahrenheit - use our quick converter to see the Celsius equivalent for your machine.
Excalibur 2400 Food Dehydrator, 4-Tray Starter
This is a square-shaped food dehydrator, that boasts 4 square feet of drying space. Black textured plastic body. Remove the front panel for access to its four trays.
- 220 watts of drying power
- 4 removable trays
- 16.25 x 13 x 6.5 inches (LxWxH)
- Temperature range: 95°F – 165°F
- Comes with: 4 trays, a digital download guide to dehydration
- Best for beginners with small kitchens
Excalibur 2900ECB 9-Tray Electric Food Dehydrator
This is a square-shaped food dehydrator, that boasts 15 square feet of drying space. Black textured plastic body. Remove the front panel for access to its nine trays.
- 400 watts of drying power
- 9 removable trays
- 19 x 17 x 12.5 inches (LxWxH)
- Temperature range: 105°F – 165°F
- Comes with: 9 trays, a digital download guide to dehydration
- Best for bulk drying & serious users
Excalibur 3900B 9-Tray Electric Food Dehydrator
This is a square-shaped food dehydrator, that boasts 15 square feet of drying space. Black textured plastic body. Remove the front panel for access to its 9 trays. Has a built-in on/off switch.
- 600 watts of drying power
- 9 removable trays
- 19 x 17 x 12.5 inches (LxWxH)
- Temperature range: 105°F – 165°F
- Comes with: 9 trays, a digital download guide to dehydration
As an Amazon Associate, I earn from qualifying purchases — this does not affect the price you pay. Read full disclosure.
Don't fret too much about the cost of a dehydrator. Starter models can be had for less than a hundred bucks. Consider it an investment. Not only will you save money on making the meals yourself, but you can use the dehydrator to make healthy snacks for everyday dining.
Every week I dehydrate a bag of grapes (sometimes two!) to make delicious juicy plump raisins.
How about homemade fruit leathers and zucchini chips? (not combined, ha!) and make your own beef jerky!
It's not hard to dehydrate food. It's a case of wash, pat dry, slice'n'dice, and dry it. Also, you'll get tons of satisfaction from doing it yourself.
Drying food for backpacking ties nicely into self-sustainability and being resourceful. Remember to take advantage of BOGOs and roadside fruit and veggie stands who offer great deals on produce.
Trail Storage Hacks: Keeping Dried Food Fresh
Please keep in mind that it's essential to properly dehydrate your foods and to store them in a cool, dark dry environment - air, light, and moisture are the three enemies we want to keep at bay.
Because drying food doesn't eliminate bacteria completely, it's also essential to properly handle your food.
Wear disposable gloves when cleaning and turning over the pieces on the dehydrator.
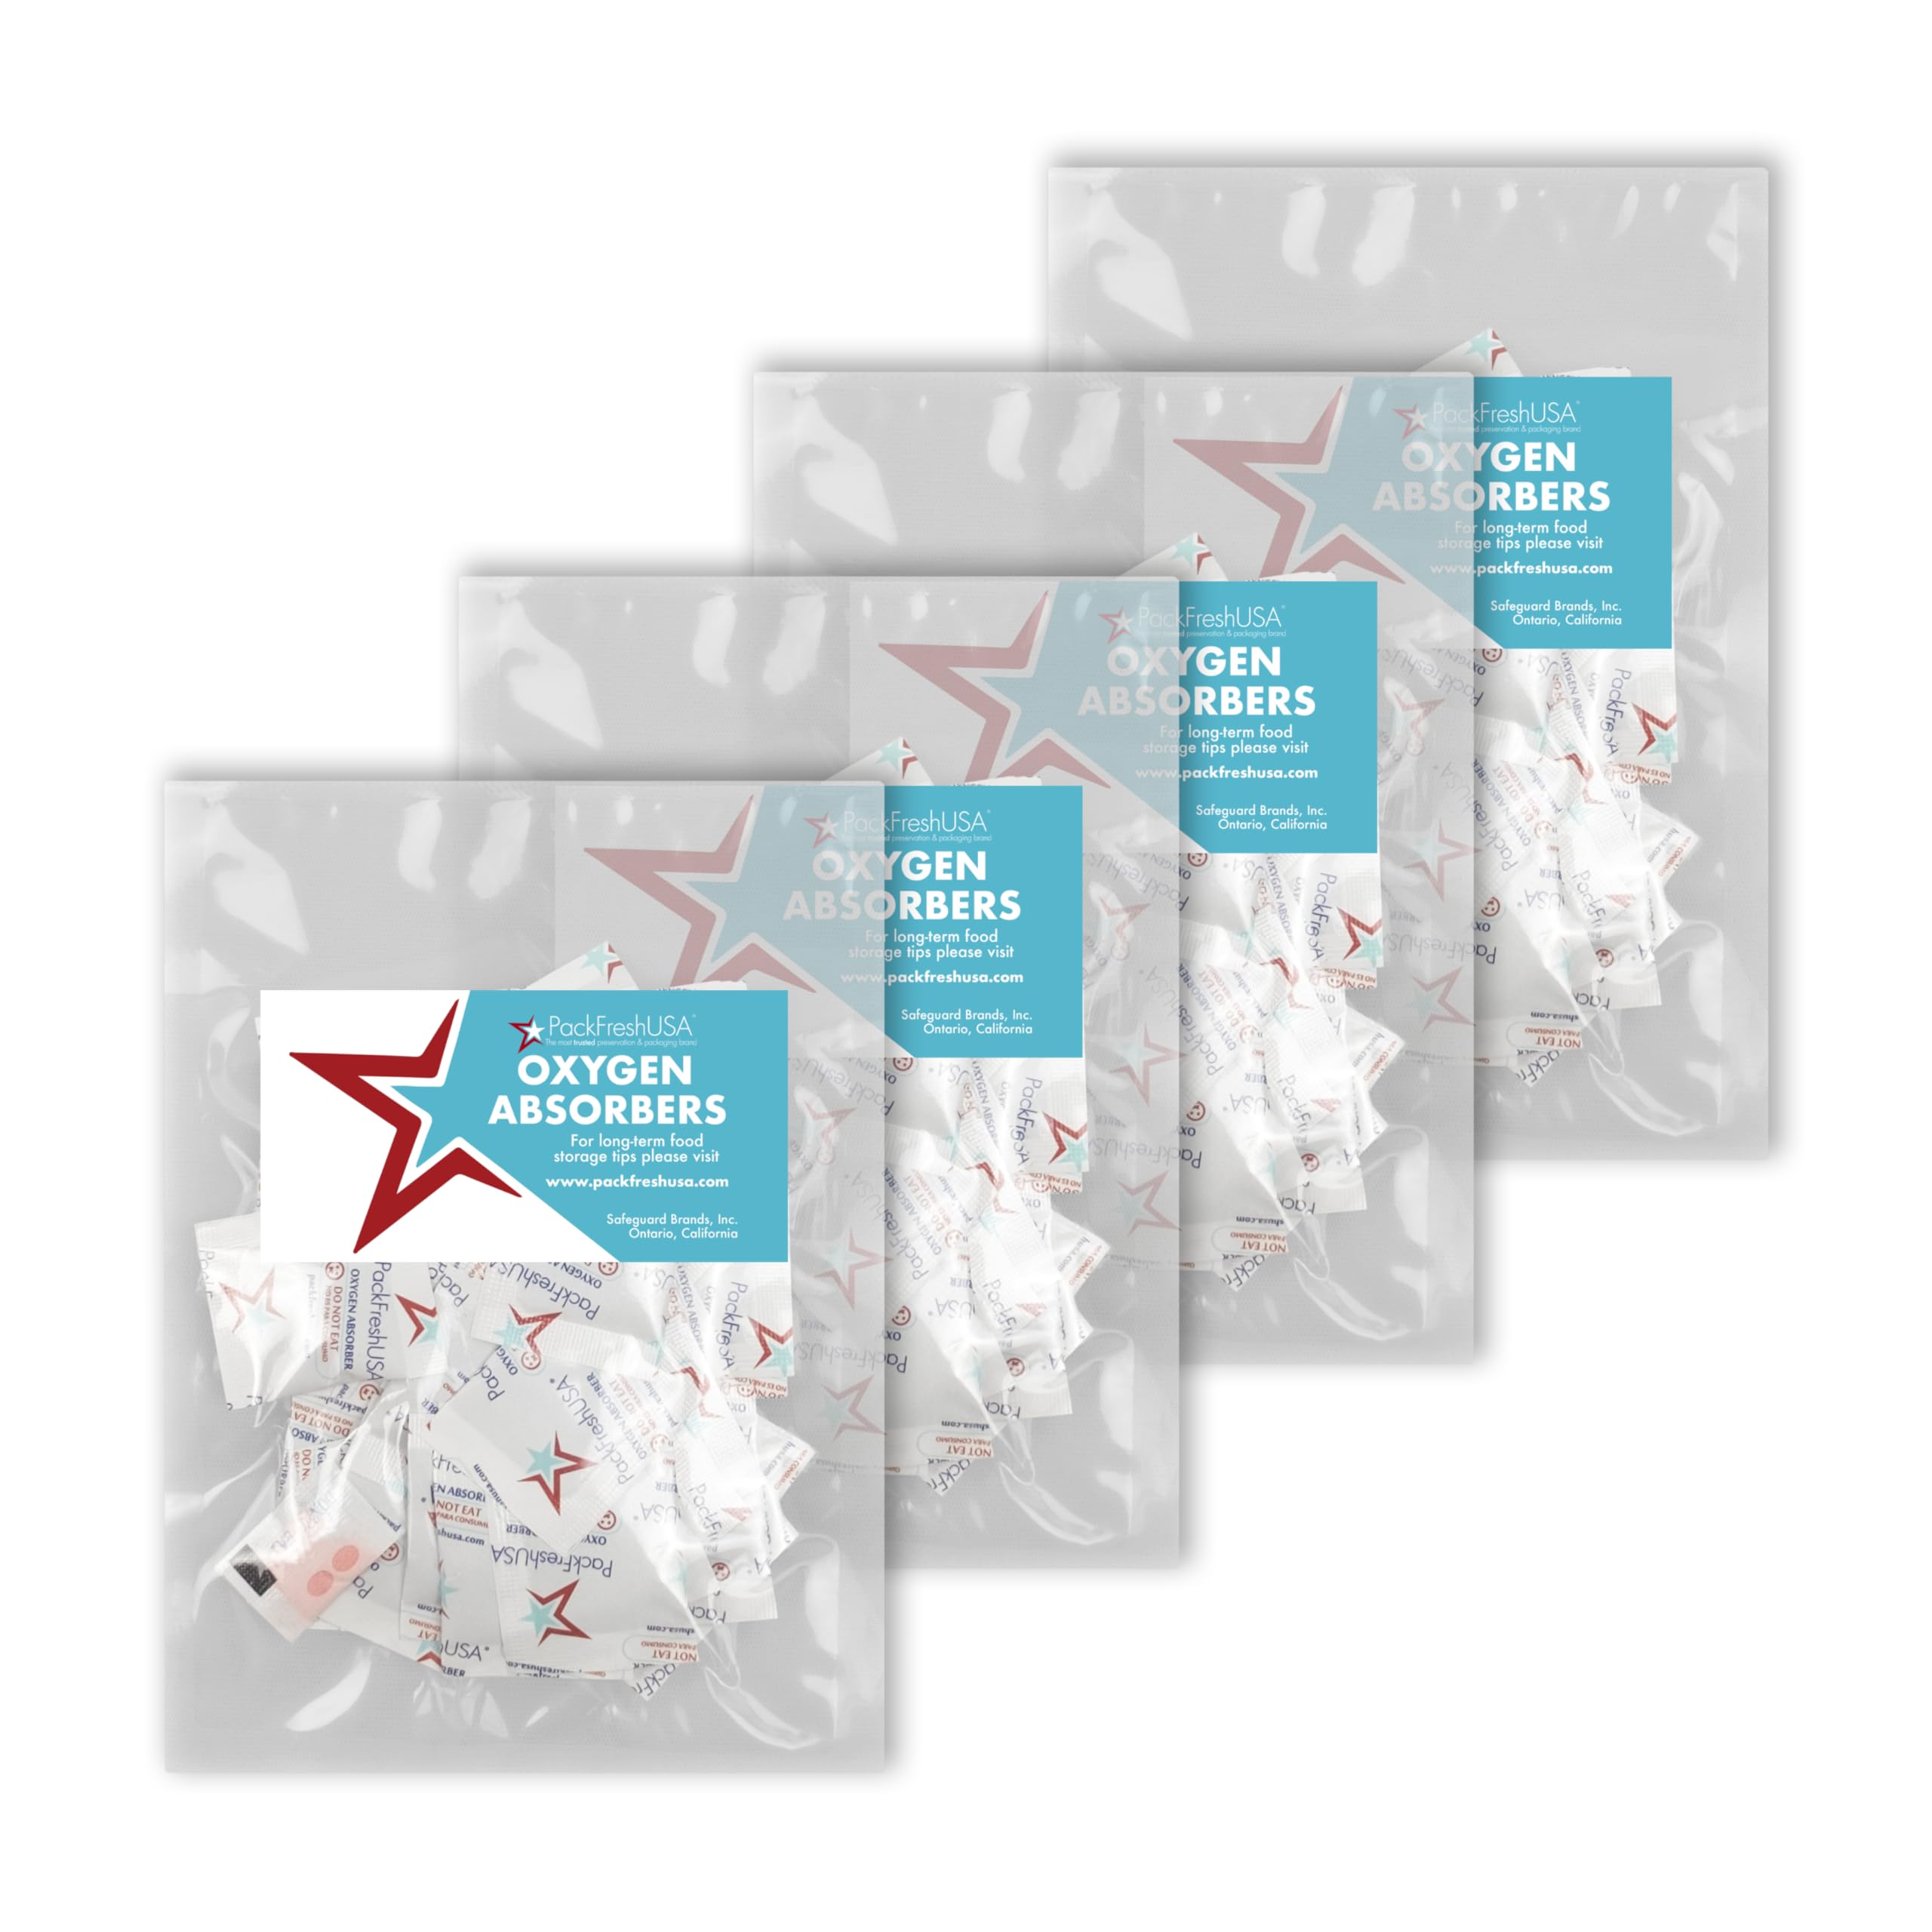
Oxygen Absorbers at Amazon
When to Use 50cc Oxygen Absorbers
50cc are perfect for small jars and containers. Ideal for keeping spices and smaller dried foods fresh.
Best Uses for 100cc Oxygen Absorbers
100cc are great for quart-sized jars and vacuum-sealer bags. The most versatile size for everyday use.
- PackFreshUSA Oxygen Absorbers
- 200-Pack
- Food-Grade, Non-Toxic
- Oxy-Sorb Oxygen Absorbers
- 100-Pack
- Long-Term Food Storage Freshness Protection
- Oxy-Sorb Oxygen Absorbers
- Bags of 20 (60 Count total)
- Super Effective for Dried Goods
- Oxy-Sorb Oxygen Absorbers
- Pack of 10
- I use these for airtight bins and buckets
As an Amazon Associate, I earn from qualifying purchases — this does not affect the price you pay. Read full disclosure.
When it's time to bag your goodies, pop in an oxygen absorber and a desiccant packet (read more about those in the box below) before drawing the air out of the bag.
A NOTE HERE about DESICCANT PACKETS
Use them in conjunction with Oxygen Absorbers.
Here's How and Why...
When you need to rehydrate your goodies while you're on your hike, take along bottled, boiled, or treated water so as not to add bacteria to your dried food.
Trail Meals for Every Diet: Vegan, Gluten-Free & More
If you're vegan, gluten-free, or have other food allergies, preparing your own meals means you can cater to any personal dietary restrictions. A big plus in my book!

Regarding "energy" you get from dried foods: When we dehydrate food, it provides us with a nutrient-dense, high-calorie meal that we need to keep us hiking up those hills.
The dehydration process concentrates the flavors due to the water having been removed, which makes our food super-tasty and nutrient-rich.
Beyond Hiking: Surprising Uses for Dried Foods
Dried foods are not only convenient to carry on backpacking trips, but are also great for emergency food supplies! If you're out traveling with the kids in the car, take along healthy dehydrated food snacks.
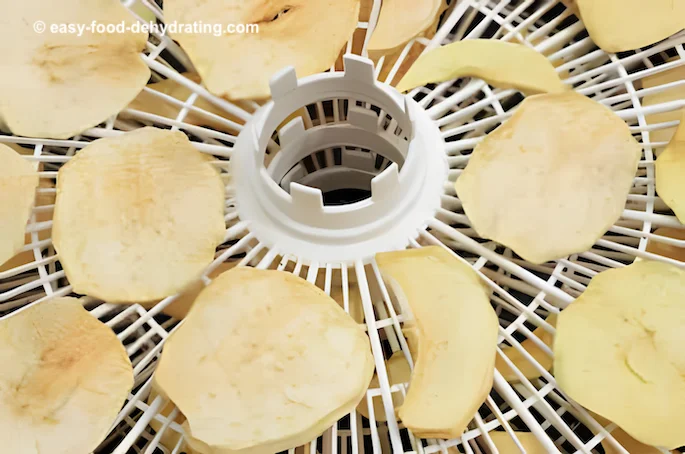 Apple slices drying on stacked dehydrator trays
When first starting out dehydrating food, begin with small batches so you can make a note of how long it takes to dry for future reference.
Also with small batches, you'll learn what you do - and don't - like.
Try out new recipes and different combinations.
Make your own trail mix of dried grapes (raisins!), dried apples, dried bananas, and salted nuts.
Add a bit of granola too. Check out this awesome Granola Recipe from Cookie + Kate.
Fun Family Activity

Drying food for backpacking is a fun activity to do with family or friends. It's not just about the end result, it's also about the process. Plus, it's a great way to share your love for the outdoors with others.
As a kid (decades ago LOL), I pitched a tent in our back garden. I had my BFF over for the night. Imagine two twelve-year-old girls. Right. To quieten down the noise we made, Dad got the garden hose out and hosed down our tent! Worked like a treat.
Thanks, Dad - I can smile about that now.
No Dehydrator? Easy Oven & DIY Drying Methods
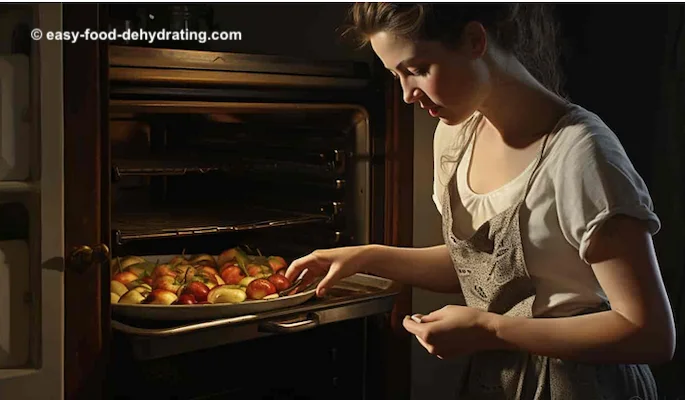
If you don't have a dehydrator, use your oven.
Set it to its lowest temperature. Bear in mind that it won't be as energy-efficient as an electric dehydrator, and it may take longer too.
Do a test batch or two using your oven. It's a great way to see if you enjoy drying food for backpacking. (I bet you will!)
1Once you get the hang of drying your own goodies, you'll discover that it's not just about saving money, it's about adopting a lifestyle that values self-sufficiency, overall health, and respect for the environment that we all share on Mother Earth.
It's very satisfying to open up your own backpacking snacks knowing that it's a delicious and nutritious meal you made yourself.
A Skill that Will Serve You Well
Learning how to dry food is a skill that will serve you well - not just for backpacking - but in everyday life. It helps reduce food waste (no more tossing out rotten fresh fruit that you forgot was in the bottom of the refrigerator drawer).
I hope you get started with dehydrating fresh fruits and veggies - and meats and seafood - but be sure to store it properly and use oxygen absorbers and desiccant packets as mentioned in this post.
Thanks for reading - now "go take a hike!"
Trail FAQs: Everything You’ve Wondered About Drying Backpacking Food
What’s the best temperature to dehydrate fruits and veggies for backpacking?
What’s the best temperature to dehydrate fruits and veggies for backpacking?
Set your dehydrator to 125–135°F (52–57°C) for most fruits and vegetables. This range removes moisture while preserving nutrients and flavor.
How long does dehydrated backpacking food last?
How long does dehydrated backpacking food last?
When sealed airtight with oxygen absorbers and stored in a cool, dark place, dehydrated foods can last 6–12 months. Vacuum sealing extends freshness even longer.
Do I need special equipment to dry food for hiking?
Do I need special equipment to dry food for hiking?
A dehydrator gives the most consistent results, but you can also use an oven on its lowest setting. A dehydrator is more energy-efficient and convenient if you plan to dry food regularly.
What foods should I avoid drying for backpacking?
What foods should I avoid drying for backpacking?
Skip high-fat or oily foods (like avocados, cheese, or fatty cuts of meat) since they spoil quickly. Stick with lean meats, fruits, and vegetables for safe storage.
How do I rehydrate dried meals on the trail?
How do I rehydrate dried meals on the trail?
Simply add clean, hot water to your dried food, cover, and let it soak for 5–15 minutes. Stir occasionally until the food returns to its original texture.
Drying food for backpacking isn’t just practical—it’s empowering. You’ll hike lighter, eat better, and know every ingredient fueling your journey.
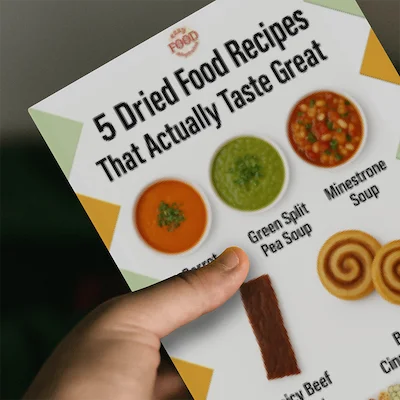
To make things even easier, grab my free 5 Dried Food Recipes You'll Actually Love PDF (below). Inside, you’ll find favorites like carrot soup, split pea soup, minestrone, spicy beef jerky, and even banana cinnamon rolls—perfect for the trail or at home.
Get 5 Dried Food Recipes You'll Actually Love
Here's where you can get your copy of our all new
5 Dried Food Recipes (That Actually Taste Great)
They're my all-time favorite easy dried food meals!
Get it here right now.
For Free!
Before You Go...
If you enjoyed this page, tap the ❤️ in the lower right-hand corner.
It saves this page to your Grow bookmarks so you can find it again later.
You’ll also see quick share buttons to copy the link, post to Facebook,
or save it straight to Pinterest.


