What We Mean by “Dehydrate”
Here at Easy Food Dehydrating, “dehydrate” always means using an electric food dehydrator — the easy, reliable way to dry food at home.
- Home
- Dehydrating Vegetables: Step-by-Step Guides by Type
- Crispy Snacks: How to Make Healthy Veggies That Crunch
Dry Veggies to Make
Crispy Snacks
That'll Make Your Taste Buds Dance

Crispy veggie snacks are one of the easiest and healthiest treats you can make at home. Drying vegetables removes their moisture, leaving you with crunchy chips or lightweight bites that store for months while locking in flavor and nutrients.
✅ Quick Answer: How do you dry veggies to make crispy snacks?
Slice fresh vegetables thinly, blanch if needed, and place in a food dehydrator at 125–140°F until brittle. For crisp chips, arrange slices in a single layer with no overlap. Once fully dried, cool, then store in airtight containers to keep them crunchy.
Whether you’re looking for a healthy alternative to chips, prepping lightweight snacks for camping, or making use of garden surplus, learning how to dry veggies for crispy snacks is simple and rewarding.

Drying veggies at home is simpler than you might think. Whether you use an electric dehydrator set to 140°F, or your oven on its lowest setting, you can create crisp, flavorful vegetable chips or rehydratable ingredients for soups and stews. From zucchini to carrots, pretty much any vegetable can be dried for long-term storage.
💡 Tip: Outside the U.S.? Most dehydrating temps here are listed in Fahrenheit - use our quick converter to see the Celsius equivalent for your machine.
First Steps: What You Need to Make Veggie Chips
Take a look at this video on Freeze Drying... It's another way to preserve food.

That's a great video (above), isn't it, about freeze-drying
veggies! I am going to think long and hard about this method - which means buying a unit, but as of right
now, I don't have a proper place to put a freeze dryer, sadly.
With that said, let's go over drying vegetables in a good old-fashioned electric dehydrator!
The proper drying of vegetables requires minimal preparation, but pay attention to slicing and dicing.
Coming up are the essential equipment and preparation techniques to get you started on your veggie-drying journey.
The Best Tools for Drying Veggies into Crunchy Snacks
To begin drying vegetables, get the proper tools. The following electric food dehydrator models - Nesco, Excalibur, or Elite Gourmet - are ideal for consistent
results. These machines offer temperature control and even airflow, ensuring
our veggies dry uniformly - and I own one of each!
If you don't have a dehydrator, a
regular oven can work in a pinch. Just set it to its lowest temperature and
prop the door open slightly for air circulation. You can use a wooden spoon to keep the oven door open a bit.
For the oven method, you'll want trays or racks that allow air to flow around the vegetables. Mesh screens or cheesecloth are very helpful for smaller pieces that tend to drop between the bars in the racks!
Choosing & Prepping Veggies for the Best Crunch
Choosing fresh, ripe vegetables is a must for the best dried veggie results. Avoid using produce with
bruises or signs of decay as it's not ideal for dehydrating... I mean, who wants to store food that's going off (or eat it?).
To prepare veggies:
- Rinse thoroughly to remove dirt and debris.
- Peel if desired (especially for root vegetables).
- Cut into uniform pieces for even drying.
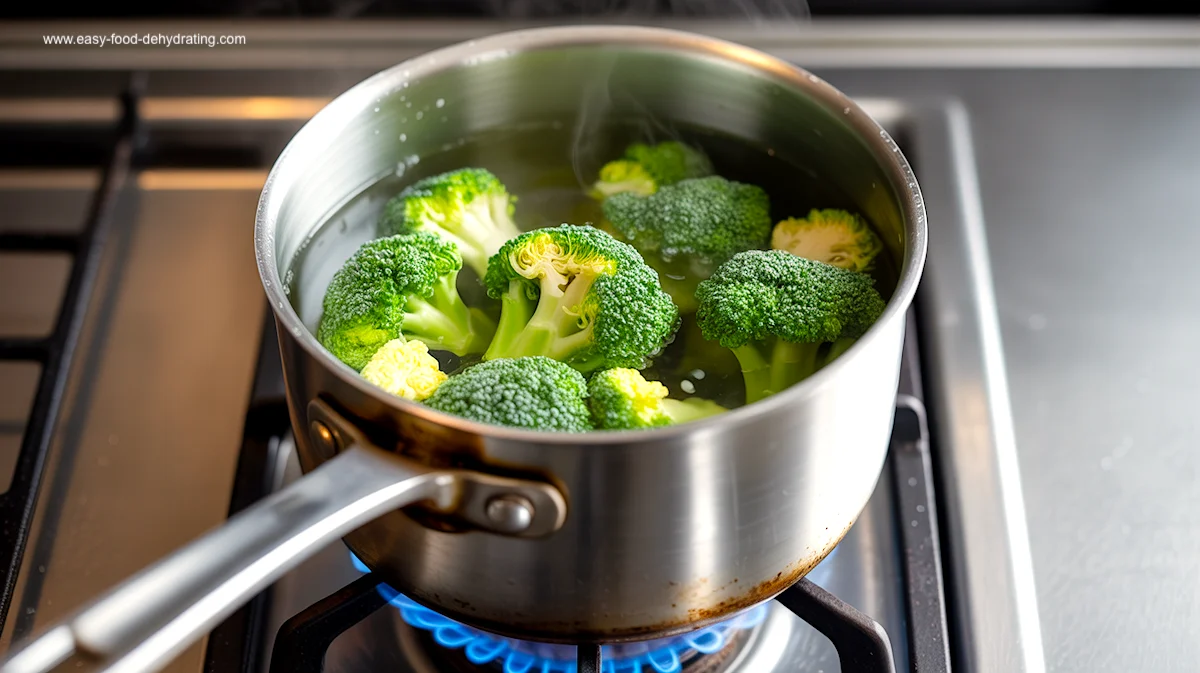
Read my Blanching page to see why this is an important step for many vegetables. Dip them in boiling water briefly, then plunge into ice water. This process helps them to keep their bright colors and nutrients intact.
Blanching times vary by vegetable:
- Peas: 2 minutes
- Potatoes: 5-6 minutes
- Squash: 1.5 minutes
After blanching, pat the veggies dry before arranging them on your dehydrator trays, leaving a tad of space between the pieces for good air circulation.
Step-by-Step Guide: How to Dry Veggies Until They’re Crispy

Blanching Vegetables: Why It Matters for Texture & Color
Blanching is a step taken for many vegetables before dehydration. There are two methods: water blanching and steam blanching.
Water blanching involves completely submerging veggies in boiling water for a short time. Here's a quick guide for how long to water blanch these common vegetables:
- Peas: 2 minutes
- Potatoes: 5-6 minutes
- Squash: 1.5 minutes
Steam blanching takes slightly longer but can better preserve nutrients because you're not "boiling the heck out" of the veggies. Place vegetables in a steamer basket over boiling water, or use the double pan/boiler setup as seen on my butternut squash page:
- Peas: 3 minutes
- Potatoes: 6-8 minutes
- Squash: 2.5-3 minutes
After blanching, quickly cool the vegetables in ice water which helps stop the cooking process and helps them keep their color.
Tray Setup Secrets for Perfectly Crisp Snacks
Proper arrangement on your dehydrator trays is key to even drying. Start by thinly slicing your vegetables and aim for a uniform thickness for consistent drying results. Use a mandoline slicer like this one.
Lay out the slices on dehydrator trays - or for oven drying: use baking sheets lined with parchment paper. It's important to avoid overlapping the pieces, so do this:
- Single layer arrangement
- Small gaps between pieces
- Don't over-fill the trays
Also, for oven drying, use a cake/pie cooling
rack placed on top of a baking sheet to improve air circulation. This setup mimics a
dehydrator's airflow somewhat.
Drying Times & Temps: How Long Until Veggies Are Crispy?
Drying times vary greatly depending on the vegetable and method used. I typically set my dehydrator (or oven) to 125°F (52°C) for optimal results.
💡 Tip: Outside the U.S.? Most dehydrating temps here are listed in Fahrenheit - use our quick converter to see the Celsius equivalent for your machine.
Average drying times for common vegetables:
- Leafy greens: 2-4 hours
- Carrots: 6-8 hours
- Onions: 3-9 hours
Check on their drying progress regularly, rotating trays if needed. I know the dehydrator manufacturers claim you don't have to rotate the trays - but I beg to differ. Items nearest the fan DO dry out faster!
Vegetables are done when they're brittle or leathery with no moisture pockets. Do the "bend test." If the veggie snaps and there's no moisture visible, it's done. However some veggies will still be a tad on the leathery side when considered "fully dried."
This page lists our veggies' links to their respective pages and each page details "what temperature," and "how long to dry," along with "what they look and feel like" when dried.
Pay close attention to mushrooms. They're "special"...
Which Vegetables Turn Into the Best Crispy Snacks?

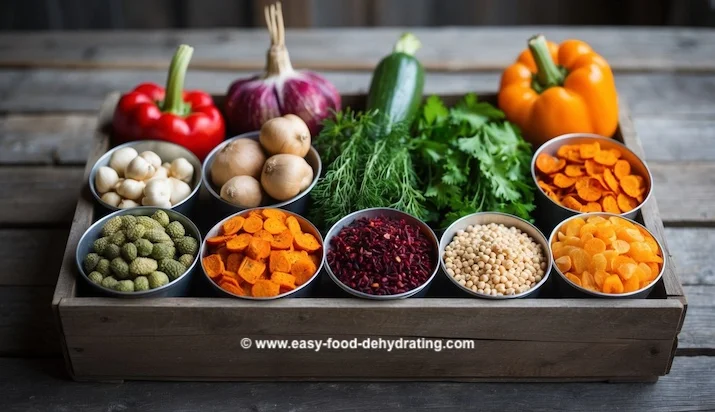
Drying veggies is a great way to preserve and enjoy produce. You can dehydrate everything from common garden vegetables to herbs and leafy greens, giving you plenty of options for snacks and cooking.
Top Veggies to Try First
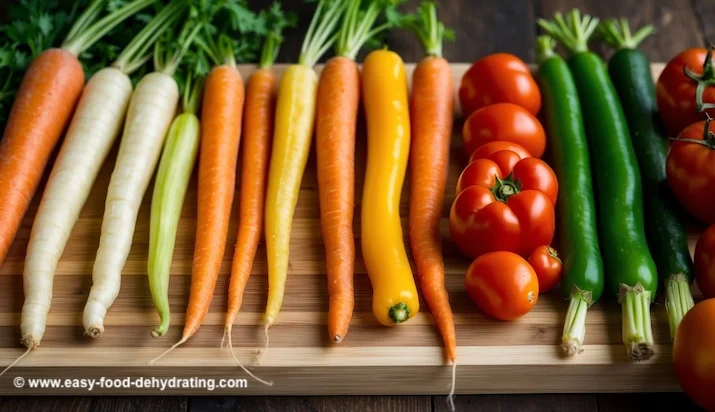
Tomatoes, carrots, and onions are among the most popular choices for dehydration. I love how tomatoes concentrate their flavor when dried, making them perfect for snacking or adding to recipes. Make a tomato leather for future use as a spaghetti or pizza sauce! Carrots retain their nutritional value and add a sweet crunch to trail mixes.
Celery and corn are excellent options, too. Dried celery is great for soups and stews, while dehydrated corn kernels make a tasty snack.
Don't forget about potatoes! Dehydrated potato slices or shreds are convenient for camping trips or quick meal prep.
Broccoli and cauliflower florets dry well and can be quickly rehydrated for use in various dishes. Green beans and peas are also fantastic choices, and they maintain their texture and flavor when properly dried.
Can You Make Crispy Snacks from Herbs & Greens?
Drying herbs is a fantastic way to preserve their flavors. Basil, oregano, and thyme retain their aromatic qualities exceptionally well when dehydrated.
Parsley and cilantro are great candidates for drying, too. They keep their vibrant colors and can be crumbled into flakes for seasoning dishes.
Mint is another herb that dries beautifully. I love using dried mint for teas or as a garnish for desserts.
Learn how to grow and dehydrate herbs (for free!) by getting our herb eBook today! Click the book cover to to get a copy!
DIY Healthy Veggie Chips You’ll Actually Crave

Zucchini chips are a delicious and healthy alternative to potato chips and make thoughtful gifts. Slice them thinly, season with your favorite spices, and dehydrate until crispy.
Kale chips have become increasingly popular. I find that massaging the leaves with a bit of oil and seasoning before drying creates the perfect crispy texture and adds flavor.
Beet chips are a colorful and sweet option. Their natural sugars concentrate during dehydration, resulting in a uniquely earthy-tasting snack.
Creative Ways to Use Crispy Veggies in Meals & Snacks
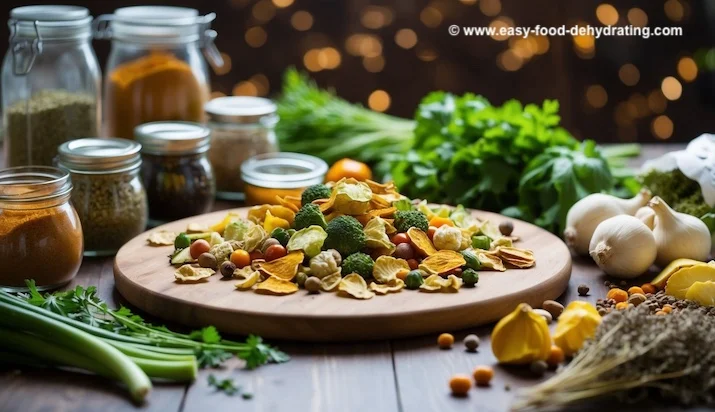
Dried vegetable mixes make great on-the-go snacks. Try combining dehydrated bell peppers, cherry tomatoes, and green beans for a crunchy and nutritious mix - or use the mix for soup.
Dry veggies offer versatility and convenience in the kitchen. It's easy to mix them into various dishes and snacks as mentioned.
Cooking with Dried Veggies: Soups, Sides & More
I love using dry vegetables in soups and casseroles. They rehydrate wonderfully, absorbing flavors and adding texture. For a quick soup, combine dried veggies with broth, egg noodles, and seasonings.
Dried veggies work great in side dishes, too. Just sprinkle them into rice or pasta for extra nutrition and flavor. They're perfect for camping trips or quick meals when fresh produce isn't available.
To rehydrate, simply soak them in cold water for 1-2 hours. For faster results, you can use boiling water and soak for 10-20 minutes, stirring occasionally.
When using warm water methods, please make sure you bring your soup to a rolling boil for a minute. I don't want you getting ill from germs that love warm water (but hate boiling water!)
Snack Mixes & Salad Toppers You’ll Love
Dehydrated vegetables make excellent healthy snacks. I enjoy munching on dried tomato chips, kale crisps, or sunchoke slices. They're crunchy, nutritious, and delish!
As salad toppings, dried veggies add interesting textures and concentrated flavors. Try sprinkling dried bell peppers, carrots, or onions over your salad greens for a burst of taste.
Also, consider grinding dried vegetables into powders. See Julie's Smoked Garlic Sea Salt. It is a fantastic seasoning blend.
How to Store Crispy Veggie Snacks So They Don’t Go Soft
Let's explore best practices for ensuring food safety and long-term
storage to help you make the most of your dehydrated produce. Keep reading!
Food Safety Must-Knows Before You Store Dried Veggies
When dehydrating vegetables, start with clean, fresh produce. Wash and scrub (where necessary) the veggies thoroughly and then pat them dry with paper towels.
Once dehydrated, it's important to condition dried vegetables (and fruits, to be fair). It's my fourth step (of six) that is often skipped by folks who don't know. (Now YOU know!) ;-)
Conditioning Dried Veggies: The Step Most People Skip
The conditioning process involves placing the dehydrated vegetables in a plastic Ziploc™ bag, or a jar, for a day or two, shaking daily to distribute any remaining moisture.
If you live in a warm climate, condition dried foods in the refrigerator. Make sure your bags are sealed tight as you don't want moisture creeping into your bags from the fridge!
If your home is "cool," then leaving the Ziploc™ bags out on the counter top is fine.
It's important to check for any signs of moisture during this time. If you spot moisture, it's best to re-dry the batch. If you see mold - throw the bag and the contents away!
After conditioning, it's safe to package the dried veggies for storage using a food vacuum sealer. Store dried vegetables in a cool, dry place away
from direct sunlight.
Long-Term Storage Tips for Crunch That Lasts
For long-term storage, I highly recommend using airtight containers or Mason jars. These help protect our dried veggies from moisture, insects, and other contaminants. Vacuum-sealer bags are another excellent option for extending the shelf life of dried goods.
Remember to label your containers with their contents and date of packaging. This helps us keep track of our inventory and use older items first. It's a good idea to check your stored vegetables periodically for any signs of moisture or spoilage.
To maximize shelf life, add oxygen absorbers to your storage containers along with desiccant packets. These little packets help prevent oxidation and extend the storage time of our dried vegetables. To me, oxygen absorbers are a necessity if you're serious about storing food for a long time.
Remember to store different types of dried vegetables separately to prevent flavor transfer. By following these practices, you can enjoy dehydrated veggies for months, or even years!
Crispy Snack FAQs: Drying, Storing, and Crunching
How can I make my own dried vegetables at home?
How can I make my own dried vegetables at home?
Wash, slice thinly, and arrange vegetables in a single layer on dehydrator trays. Dry at 125–140°F (52–60°C) until crisp. Most veggies take 6–12 hours.
What vegetables make the best crispy snacks?
What vegetables make the best crispy snacks?
Popular choices include zucchini, kale, carrots, beets, and tomatoes. Each develops a unique texture and flavor when dried.
Why aren’t my veggie snacks crispy?
Why aren’t my veggie snacks crispy?
Usually they weren’t dried long enough. Veggies should snap when bent and have no visible moisture. Re-dry if needed.
How do you properly store dried vegetables to keep them crunchy?
How do you properly store dried vegetables to keep them crunchy?
To keep dried vegetables fresh, store them in airtight containers. Glass Mason jars or food-grade plastic bags work well.
Keep them in a cool, dark place. Properly stored dried vegetables can last up to 6 months
at room temperature. For longer storage, use an oxygen absorber and a desiccant pack and
vacuum-seal your dried veggies.
How do I make veggie chips taste better?
How do I make veggie chips taste better?
Toss slices in olive oil and seasonings like garlic powder, smoked paprika, or sea salt before drying for extra flavor.
Can I make crispy snacks in the oven without a dehydrator?
Can I make crispy snacks in the oven without a dehydrator?
Yes. Use the lowest oven setting, prop the door open slightly for airflow, and check frequently to prevent burning.
Do I need to blanch vegetables before drying them into chips?
Do I need to blanch vegetables before drying them into chips?
For some vegetables, yes. Blanching keeps colors bright and improves crispness. Common blanch times: peas (2 min), potatoes (5–6 min), squash (1.5 min).
Thanks for stopping by to learn how to dry veggies into crispy snacks! With the right tools and a little prep, you’ll have crunchy, healthy chips ready to munch on or add to your favorite meals.
And if you’re hungry for more inspiration, don’t miss your free 5 Dried Food Recipes You’ll Actually Love PDF (below) — featuring carrot soup, minestrone, split pea soup, spicy beef jerky, and banana cinnamon rolls.
Get 5 Dried Food Recipes You'll Actually Love
Here's where you can get your copy of our all new
5 Dried Food Recipes (That Actually Taste Great)
They're my all-time favorite easy dried food meals!
Get it here right now.
For Free!
Before You Go...
If you enjoyed this page, tap the ❤️ in the lower right-hand corner.
It saves this page to your Grow bookmarks so you can find it again later.
You’ll also see quick share buttons to copy the link, post to Facebook,
or save it straight to Pinterest.


